I made this really cute appetizer for Easter brunch yesterday and snapped a few pictures as I was putting it together.
For this project you need baby carrots, cilantro, toothpicks, Dixie cups, and clay pots (very small pots). I purchased the clay pots at Hobby Lobby, but I am sure you can pick them up almost anywhere.
For the first step, I cut the cilantro into little "stems". I used the toothpicks to poke a hole in the top of the carrot. **be sure that the toothpick comes out and you didn't leave a little part of the toothpick inside. My carrots were really hard, so making a hole took several attempts. After making the holes, simply place the cilantro into the hole.
I used a flat basket to transport the pots in.
The instructions called for using a piece of foil over the hole of the pot, but I used a small dixie cup and cut the top off about half way.
I made the hummus the day before, in my Vitamix. I used 2 cans of garbanzo beans, 1 tbs olive oil, 1 tbs lemon juice, 1/2 cup toasted sesame seeds, and 12 (yes, twelve!) cloves of roasted garlic. This made about 2.5 cups of hummus.
I used a spoon to fill the pots of hummus. I only filled them about half way (approx 3 spoonfuls) because after placing the carrots into the hummus, the fill line rose.
I put 3 carrots in each pot, but you can put more if your carrots are smaller.
I put all the pots (12) in the basket, along with a bowl of hummus and a bowl of additional carrots.
If I do this again, I will not use cilantro, as it started to wilt halfway through the party. I think parsley might have a better chance at staying perky!
This appetizer was a big hit, and I only had a few to take home.
I found this really cute project on YouTube several weeks ago. I am
sure the project is all over the internet since it's so adorable and the
instructions are just a click away!
Showing posts with label st. louis. Show all posts
Monday, April 21, 2014
Friday, March 21, 2014
The Final Patchouli Orange Vanilla Soap!
The soap turned out great! The brown swirl will darken over the next few days due to the vanilla content.
I love the ground vanilla beans in the dark swirl and on top! What do you think?
Tuesday, March 11, 2014
Winter Sowing 2014
I started winter sowing my seeds in February. We had a few days in the 60's, so I took advantage of the "spring" air.
I use both empty milk jugs and plastic pots for my seeds, but I will just show my milk jugs today.
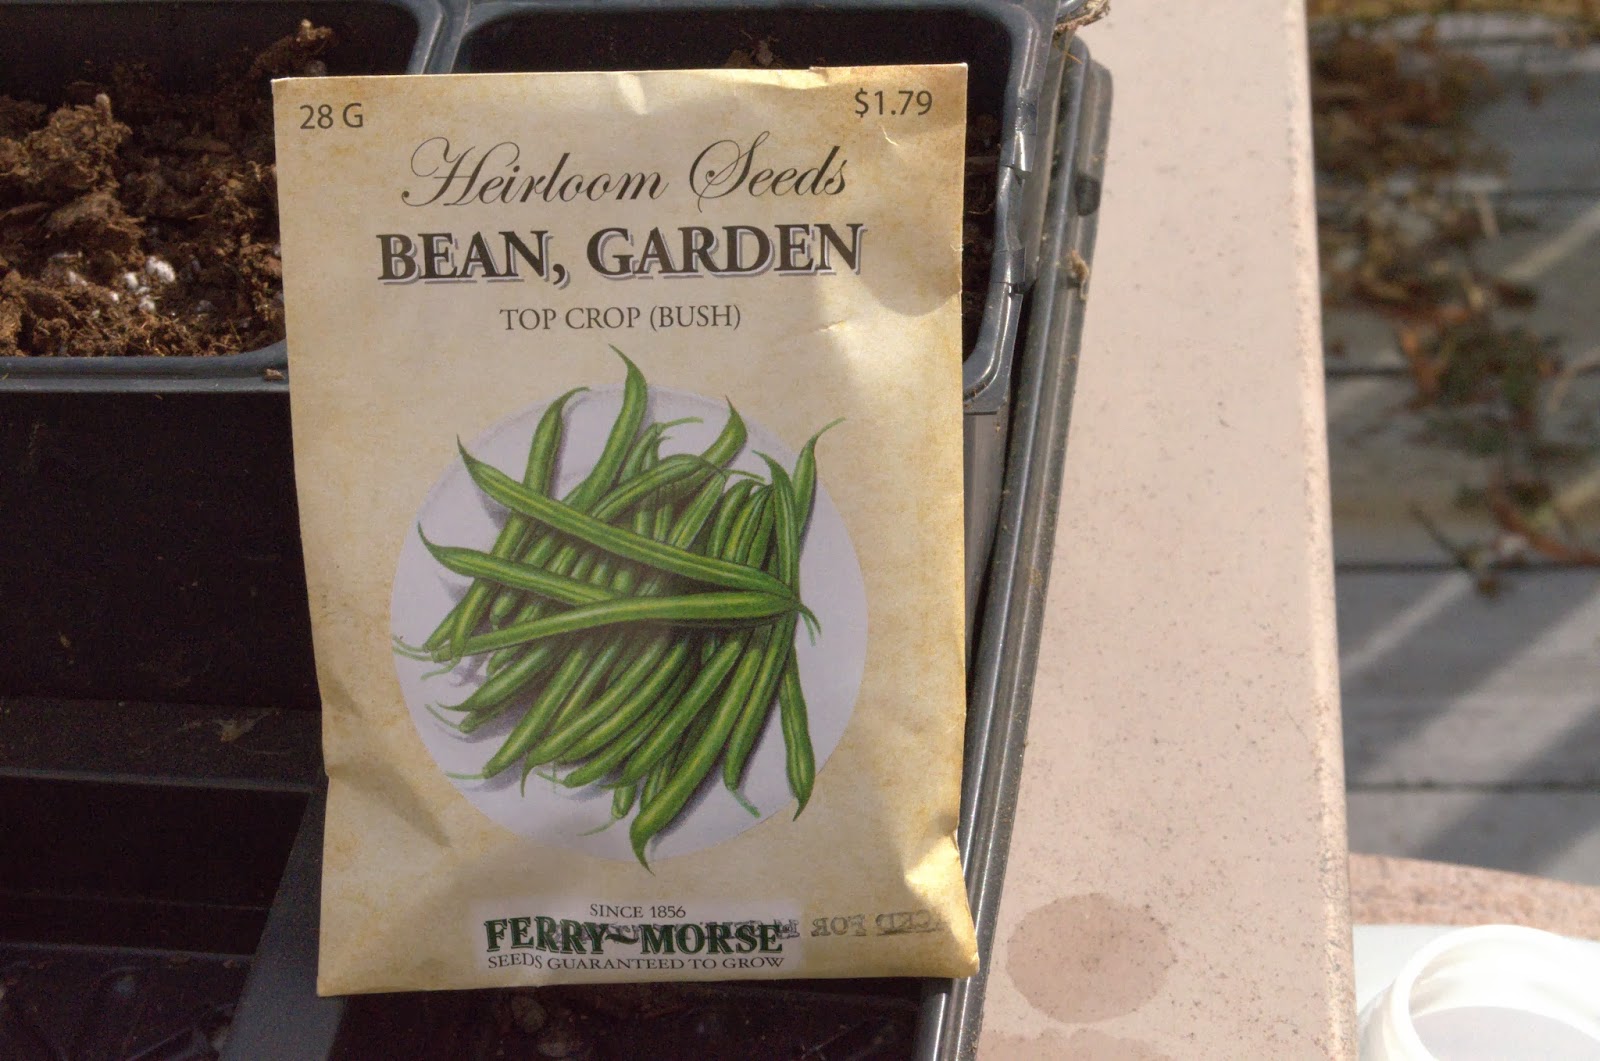
First, I gathered all my seeds. Last year I mixed my seeds up, so this year I am being overly cautious by sowing one type of seed at a time. I planted a variety of veggies (cucumber, tomatoes, green beans, peas) and some annuals and perennials.
For milk jugs, you need the transparent jugs. They are semi transparent and if you hold a finger to the side, you should be able to see your finger. You want to let in light, so stay away from the solid white jugs.
I bought my soldering gun from Big Lots years ago for just a dollar or so. You can find them in most hardware stores. You can tell by my picture that they take a beating.
I use my soldering gun outdoors because of the fumes the plastic emits. It really stinks, which is another reason I waited until a semi warm day to do this.
You don't have to use a soldering gun to make the holes, but it makes the job much easier.
I put several holes on the bottom and a few on the side. Make sure you make a hole next to the handle. This is where you are going to place your scissors to cut the milk jug in half.
After cutting the holes, use duct tape to mark your jug with your type of seeds. Duct tape will not come off when wet. I use perm marker to write so the ink doesn't wash off. The reason why you mark the bottom of the jug is because the pots will sit outside for several months and in a short time span, the sun will fade the marker and you will be left with mystery seeds!
Using the hole by the handle, cut the milk jug in half, leaving the handle still attached. The handle acts as a hinge for the jug.
Fill the jug with potting soil and wet the jug until the soil is heavily saturated and water is streaming out the bottom.
Sprinkle your seeds on top. You can add a little dirt on top on the seeds if you wish. I found either way works.
Using a VERY long piece of duct tape, tape the jug closed. I use several pieces of tape for this.
LEAVE the cap off. You will not need the milk jug lid, so you can throw this away. Place your milk just in a sunny spot on your patio or deck. Do NOT place on a table, as wind will blow your jug down.
That's it! You are finished!
Now, you wait until warm weather visits your area! When it gets a little warm outside, check your jugs for moisture. You don't want your seeds to dry out. When the jug becomes lightweight, use a watering jug to gently spray the soil with water.
Below are some pictures using 4 inch pots. I use "under the bed" sweater bags to hold the pots. You can buy these at the dollar store. Cut holes in the top, and bottom, for drainage.
I use tape on the bottom of each pot too. The spoon are used to keep the plastic off the surface of the dirt. You can also use straws, or sticks. I use the spoons as plant markers when planting the plants. I write the name of the plant on the spoon part and bury into the ground. This keeps the ink from fading.
Here is a lettuce container I used for seeds. The condensation on the top is what you want to see. You will see condensation on your milk jugs too.
Some Black Eyed Susan from last year.
Let me know if you have any questions!
Columbine that too 3 years to bloom!
Wednesday, November 20, 2013
Making Natural Body Wash From Scratch
There are many ways to make liquid soap, so I thought I would share how I made mine.
First, I add the hard and soft oils to a large stainless steel pot. Make sure you are not using an aluminum pot. I can't remember how large this pot is, but I think it's a standard stock pot.
While the oils are melting, I measure the potassium hydroxide. This comes in flakes and after measuring, it is added to distilled water. When the lye dissolves, it makes a loud "swishing" sound...sort of how a train sounds. Right after mixing, the lye/water is added to the melted oils. I do not wait for the lye to cool down.
This is what the mixture looks like right after adding the lye/water solution. The pot is placed on low heat. I use a gas stove, so I use the simmer setting.
After stick blending for a minute, the mixture looks like thick milk.
Now this is the tricky part. Stick blending speeds up the reaction between the lye and oil, but you have to be careful that the mixture doesn't overheat. If it does, it can volcano out of the pot..a big mess....don't ask me how I know!
The trick is to stick blend the mixture while the pot is off the heat and hand stir when the pot is on the heat. I just rotate (on and off the heat) every min or so.
Patience is the key! The mixture takes a long time to reach the next stage and how long depends on how much heat you use, and how long you use the stick blender.
At this stage the mixture becomes thicker and is similar to thin pudding texture.
Now, this is the fun part! The "mashed potato" stage happens quickly! One second the mixture is thin pudding, and then it resembles mashed potatoes. Now, I stir and stir until I can't anymore.
Next I place my pot (with the cover on) into the over, which is set at 200F. Every 30 minutes I check on the mixture (now soap paste). The paste will turn from white to opaque when it is finished. This process takes between 2 and 3 hours.
While I am waiting for the soap paste to finish, I measure out my Borax and distilled water. This solution will dilute the soap paste and help neutralize the soap paste.
Don't forget your goggles! One tiny drop of lye in your eye, can blind you for life. The risk is just not worth it. Always, always, wear your goggles! Ok, I will step off my soap box.
This is what the soap paste looks like after just an hour. It is still quite white.
nn
This is what the soap past looks like when finished. The paste should be the color of Vaseline, a shiny amber color.
After boiling the distilled water, and dissolving the Borax in the water, I add the solution to the soap paste.
This part is not a fun part. The paste has to dissolve into the water. This takes lots of stirring, and stirring, and stirring. I usually stir the pot, and come back every half hour and stir again. Keeping the lid on, and a towel over the pot, keeps the soap warm and easier to dilute. Did I mention you have to stir and stir and stir?
After a few sessions of stirring, I put the lid on and wait until the next day. After a night of resting, the lumps are easier to dissolve.
You can add fragrance when you add the Borax solution, but I like to keep mine unscented. I add the fragrance as the body wash is ordered. Adding fragrances and essential oils can change the density of the soap. Some will make the soap thicker, and some will thin the soap. I like to keep my liquid soap a little thick in case the fragrance thins when added.
You can see the body wash in the above picture. It is a light amber color. I don't color my soap, but when I add a fragrance that contains vanilla, the soap will turn a darker amber color.
Making body wash/liquid soap is not hard, but it is time consuming. I find it very rewarding after it is all finished. My recipe makes 6 pounds of liquid soap, so I make a pretty large batch.
I hope you enjoyed the process! Handmade body wash is made with pure fresh oils, and doesn't contain any additives or chemicals like store bought soap.
First, I add the hard and soft oils to a large stainless steel pot. Make sure you are not using an aluminum pot. I can't remember how large this pot is, but I think it's a standard stock pot.
While the oils are melting, I measure the potassium hydroxide. This comes in flakes and after measuring, it is added to distilled water. When the lye dissolves, it makes a loud "swishing" sound...sort of how a train sounds. Right after mixing, the lye/water is added to the melted oils. I do not wait for the lye to cool down.
This is what the mixture looks like right after adding the lye/water solution. The pot is placed on low heat. I use a gas stove, so I use the simmer setting.
After stick blending for a minute, the mixture looks like thick milk.
Now this is the tricky part. Stick blending speeds up the reaction between the lye and oil, but you have to be careful that the mixture doesn't overheat. If it does, it can volcano out of the pot..a big mess....don't ask me how I know!
The trick is to stick blend the mixture while the pot is off the heat and hand stir when the pot is on the heat. I just rotate (on and off the heat) every min or so.
Patience is the key! The mixture takes a long time to reach the next stage and how long depends on how much heat you use, and how long you use the stick blender.
At this stage the mixture becomes thicker and is similar to thin pudding texture.
Now, this is the fun part! The "mashed potato" stage happens quickly! One second the mixture is thin pudding, and then it resembles mashed potatoes. Now, I stir and stir until I can't anymore.
Next I place my pot (with the cover on) into the over, which is set at 200F. Every 30 minutes I check on the mixture (now soap paste). The paste will turn from white to opaque when it is finished. This process takes between 2 and 3 hours.
While I am waiting for the soap paste to finish, I measure out my Borax and distilled water. This solution will dilute the soap paste and help neutralize the soap paste.
Don't forget your goggles! One tiny drop of lye in your eye, can blind you for life. The risk is just not worth it. Always, always, wear your goggles! Ok, I will step off my soap box.
This is what the soap paste looks like after just an hour. It is still quite white.
nnThis is what the soap past looks like when finished. The paste should be the color of Vaseline, a shiny amber color.
After boiling the distilled water, and dissolving the Borax in the water, I add the solution to the soap paste.
This part is not a fun part. The paste has to dissolve into the water. This takes lots of stirring, and stirring, and stirring. I usually stir the pot, and come back every half hour and stir again. Keeping the lid on, and a towel over the pot, keeps the soap warm and easier to dilute. Did I mention you have to stir and stir and stir?
After a few sessions of stirring, I put the lid on and wait until the next day. After a night of resting, the lumps are easier to dissolve.
You can add fragrance when you add the Borax solution, but I like to keep mine unscented. I add the fragrance as the body wash is ordered. Adding fragrances and essential oils can change the density of the soap. Some will make the soap thicker, and some will thin the soap. I like to keep my liquid soap a little thick in case the fragrance thins when added.
You can see the body wash in the above picture. It is a light amber color. I don't color my soap, but when I add a fragrance that contains vanilla, the soap will turn a darker amber color.
Making body wash/liquid soap is not hard, but it is time consuming. I find it very rewarding after it is all finished. My recipe makes 6 pounds of liquid soap, so I make a pretty large batch.
I hope you enjoyed the process! Handmade body wash is made with pure fresh oils, and doesn't contain any additives or chemicals like store bought soap.
Thursday, April 18, 2013
Adventures With My Vitamix
After over 3 years of lusting over the Vitamix mixer, I finally took the plunge and ordered one a few weeks ago. I narrowed my extensive search for this mixer and it came to down to two mixers: the Vitamix and the Blendtec. I honestly didn't find one better over the other, but ended up choosing the Vitamix.
In anticipation, I purchased a fridge full of fresh and frozen fruits and fresh veggies. I started with fresh spinach, apples, bananas, watermelon, lemons, carrots, strawberries, oranges, cucumbers, carrots, and almond milk.
I think my favorite mix is: spinach, banana, watermelon, lemon, carrot, and almond milk.
In this smoothie I added (in this order) almond milk, kale (I think I like spinach better), frozen mango, fresh lemon with skin, 1/2 banana, a small handful of almonds, and ice!
You can almost pick out each ingredient from the side of the mixer.
The finished smoothie! I can taste the banana and almonds. It tastes a little sweet even though I didn't add any sweetener.
Here is another one I made. It has 2 oranges (orange rind taken off), 1/2 banana, a lemon, and some almond milk. Yum!
It is fun coming up with different smoothies. I also have been making some delicious soups. Yes, soup! The Vitamix also heats up your ingredients!
Today I made a smoothie with distilled water and 2 whole cucumbers. I didn't drink this smoothie, as I wanted to add it to my cucumber soap! Stay tuned to my Cucumber Mint soap!
In anticipation, I purchased a fridge full of fresh and frozen fruits and fresh veggies. I started with fresh spinach, apples, bananas, watermelon, lemons, carrots, strawberries, oranges, cucumbers, carrots, and almond milk.
I think my favorite mix is: spinach, banana, watermelon, lemon, carrot, and almond milk.
In this smoothie I added (in this order) almond milk, kale (I think I like spinach better), frozen mango, fresh lemon with skin, 1/2 banana, a small handful of almonds, and ice!
You can almost pick out each ingredient from the side of the mixer.
The finished smoothie! I can taste the banana and almonds. It tastes a little sweet even though I didn't add any sweetener.
Here is another one I made. It has 2 oranges (orange rind taken off), 1/2 banana, a lemon, and some almond milk. Yum!
It is fun coming up with different smoothies. I also have been making some delicious soups. Yes, soup! The Vitamix also heats up your ingredients!
Today I made a smoothie with distilled water and 2 whole cucumbers. I didn't drink this smoothie, as I wanted to add it to my cucumber soap! Stay tuned to my Cucumber Mint soap!
Friday, December 28, 2012
No Video of Beer Soap
Monday, December 3, 2012
I can't believe it's December!
My, the time has flown right by. It's hard to believe it is already December, especially since it's in the 70's today! I had the doors open and felt very warm putting the ornaments on the tree.....only in the Midwest!
For the past few days I have been working on new pictures. I have a 6 year old camera, but sadly, I don't think I can blame the age on the pictures. I have a light box downstairs (that I made out of a cardboard box) that I use sometimes, but I prefer the light from my sliding glass doors.
Here is what they looked like before I edited the picture. You can see how bright the sun was by the upper left hand corner. I used a piece of white paper to cover the light coming in.
I often get a blue cast around my picture.
Here is the picture right after I took it.
For the past few days I have been working on new pictures. I have a 6 year old camera, but sadly, I don't think I can blame the age on the pictures. I have a light box downstairs (that I made out of a cardboard box) that I use sometimes, but I prefer the light from my sliding glass doors.
Here is what they looked like before I edited the picture. You can see how bright the sun was by the upper left hand corner. I used a piece of white paper to cover the light coming in.
I often get a blue cast around my picture.
Here they are after editing. The colors are pretty accurate, but the pink is more vibrant than what is showing in the picture.
Here is the picture right after I took it.
This is right after editing. It is so bright, that you can't really see the details.
This is my new Koi soap.
Sunday, November 11, 2012
Missing in action in St. Louis
Less than a week after my last post, I fell in my house and broke my ankle. I can't think of a better excuse than this for not updating my blog! Ha!
I started shipping out orders 2 weeks after I fell. I borrowed a wheelchair from a friend and wheeled myself around the basement (I scooted on my rear to get down the stairs) and filled orders.
I didn't feel comfortable making soap until I was more steady on my feet. I didn't make soap for about 2 months and my first batch turned out beautifully, except I forgot the fragrance oil! It was supposed to be scented in Mistletoe and Ivy, but now they are lovely unscented soap.
I named the soap Snowballs.
I have been restocking soap, and a few days ago I made more Peppermint Crunch. I have a hard time making soap to look like a previous batch, but these look identical!
The color I used was a combination of TBK's red and NG's Tomato Red.
I think they turned out cute!
The peppermint soap is available now and the snowball soap will be soon.
Stay tuned!
I started shipping out orders 2 weeks after I fell. I borrowed a wheelchair from a friend and wheeled myself around the basement (I scooted on my rear to get down the stairs) and filled orders.
I didn't feel comfortable making soap until I was more steady on my feet. I didn't make soap for about 2 months and my first batch turned out beautifully, except I forgot the fragrance oil! It was supposed to be scented in Mistletoe and Ivy, but now they are lovely unscented soap.
I named the soap Snowballs.
I have been restocking soap, and a few days ago I made more Peppermint Crunch. I have a hard time making soap to look like a previous batch, but these look identical!
The color I used was a combination of TBK's red and NG's Tomato Red.
I think they turned out cute!
The peppermint soap is available now and the snowball soap will be soon.
Stay tuned!
Wednesday, July 25, 2012
Making and Pouring Pumpkin Soy Wax Candle
I have been yearning to start on my fall candles for a few weeks now. Now that I found some time, I made Pumpkin Spice Soy Wax Candles with a pumpkin embed!
Here is how my wax looked before melting. The wax comes in flakes, which made it easy measure.
Before the wax is melted, I attached my wicks. I used cotton wicks that come with a safety tab on the bottom. The tab won't allow the candle to burn down to the very bottom and burn your table, or worse, start a fire!
I used a glue gun to attach the wicks and a pop cycle stick to reach down and tap the wick down.
I poured off some wax and colored it bright orange. I didn't scent this wax.
I used this wax to make my pumpkins. I used a pumpkin ice mold from the dollar store.
I colored the rest of the wax a lighter orange. and added Pumpkin Spice fragrance oil from Brambleberry.Com.
I popped the pumpkins out of the mold. I "lost" some tops, so had to remelt a few. They came out a little "rustic" looking, but they sure are cute!
The wax is cooling. The color looked really dark, but since soy wax is white, the colors come out muted.
For this wax I heated up the wax to 180 degrees, added the scent at 160 degrees, and poured at about 120 - 125 degrees.
I heated my containers with a heat gun to prevent the wax from pulling away from the glass.
Here they are all poured. I used pop cycle sticks to center the wick.
To make the topping, I melted some pillar wax and whipped it with a mixer until it was light and fluffy. I popped the pumpkin on right after the wax was plopped on. The wax cools fast!
Here is how my wax looked before melting. The wax comes in flakes, which made it easy measure.
Before the wax is melted, I attached my wicks. I used cotton wicks that come with a safety tab on the bottom. The tab won't allow the candle to burn down to the very bottom and burn your table, or worse, start a fire!
I used a glue gun to attach the wicks and a pop cycle stick to reach down and tap the wick down.
I poured off some wax and colored it bright orange. I didn't scent this wax.
I used this wax to make my pumpkins. I used a pumpkin ice mold from the dollar store.
I colored the rest of the wax a lighter orange. and added Pumpkin Spice fragrance oil from Brambleberry.Com.
I popped the pumpkins out of the mold. I "lost" some tops, so had to remelt a few. They came out a little "rustic" looking, but they sure are cute!
The wax is cooling. The color looked really dark, but since soy wax is white, the colors come out muted.
For this wax I heated up the wax to 180 degrees, added the scent at 160 degrees, and poured at about 120 - 125 degrees.
I heated my containers with a heat gun to prevent the wax from pulling away from the glass.
Here they are all poured. I used pop cycle sticks to center the wick.
To make the topping, I melted some pillar wax and whipped it with a mixer until it was light and fluffy. I popped the pumpkin on right after the wax was plopped on. The wax cools fast!
| All finished! |
![]() |
| All ready for the Fall! |
Subscribe to:
Posts (Atom)