I started winter sowing my seeds in February. We had a few days in the 60's, so I took advantage of the "spring" air.
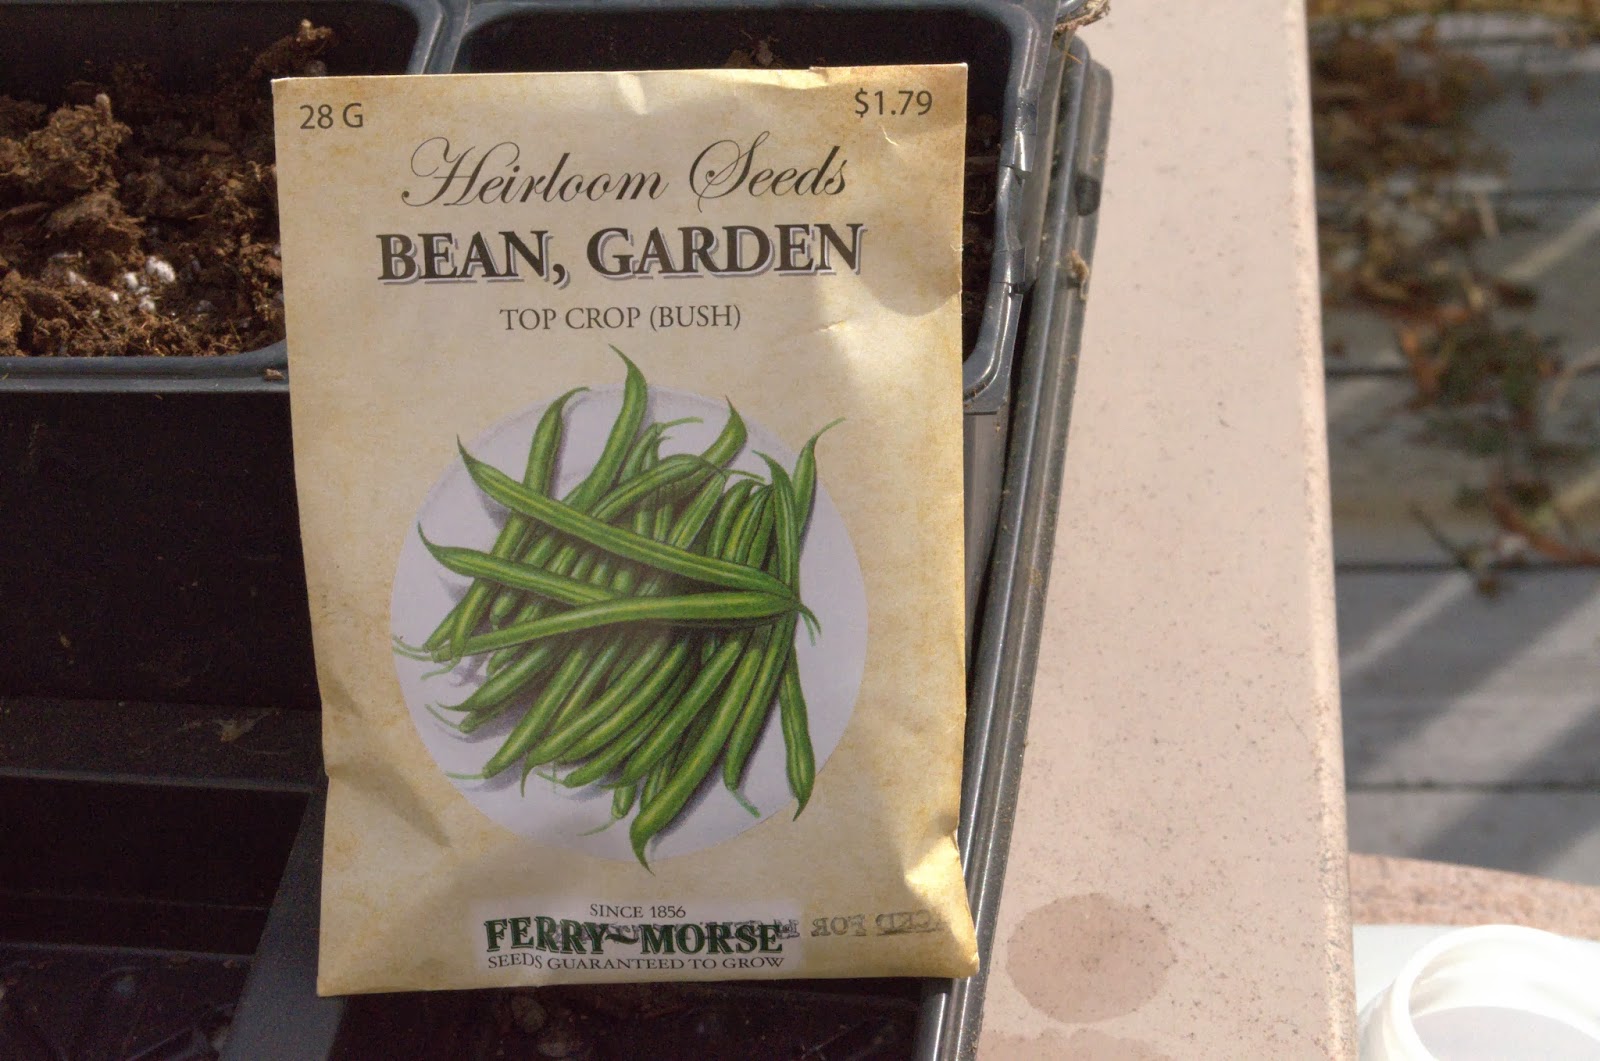

First, I gathered all my seeds. Last year I mixed my seeds up, so this year I am being overly cautious by sowing one type of seed at a time. I planted a variety of veggies (cucumber, tomatoes, green beans, peas) and some annuals and perennials.
For milk jugs, you need the transparent jugs. They are semi transparent and if you hold a finger to the side, you should be able to see your finger. You want to let in light, so stay away from the solid white jugs.
I bought my soldering gun from Big Lots years ago for just a dollar or so. You can find them in most hardware stores. You can tell by my picture that they take a beating.
I use my soldering gun outdoors because of the fumes the plastic emits. It really stinks, which is another reason I waited until a semi warm day to do this.
You don't have to use a soldering gun to make the holes, but it makes the job much easier.


Sprinkle your seeds on top. You can add a little dirt on top on the seeds if you wish. I found either way works.

Using a VERY long piece of duct tape, tape the jug closed. I use several pieces of tape for this.
LEAVE the cap off. You will not need the milk jug lid, so you can throw this away. Place your milk just in a sunny spot on your patio or deck. Do NOT place on a table, as wind will blow your jug down.
That's it! You are finished!
Now, you wait until warm weather visits your area! When it gets a little warm outside, check your jugs for moisture. You don't want your seeds to dry out. When the jug becomes lightweight, use a watering jug to gently spray the soil with water.
Below are some pictures using 4 inch pots. I use "under the bed" sweater bags to hold the pots. You can buy these at the dollar store. Cut holes in the top, and bottom, for drainage.


Some Black Eyed Susan from last year.


No comments:
Post a Comment